Thursday 22 December 2016

Merry Christmas

Hi there,
here are some delightful little bags that I will be putting on the Christmas table on Christmas day. These will be placed at each place setting. The little bags contain four chocolates...yummy!


They were fairly easy to make. I set up a production line to get them whipped up pretty quick.  The bag was a Stampin' Up Bigz XL Fancy Favour die, sadly now retired. The Merry was from Kaisercraft's Traditional Christmas  stamp set. It said Merry Christmas, I cut the stamp in half to be able to just use the word Merry. The Christmas was a Decorative Die from Kaisercraft's Christmas Word pack. Some silver glitter paper and Candy Cane Lane designer series paper also from Stampin' Up.


Thanks for visiting. Have a most wonderful day.
Cheers Donna 🎄

Tuesday 20 December 2016

Christmas Gifts

Hi there, 
here are some more Christmas gift treat holders. I made these for the lovely people who work at my local bakery. They are so lovely and very friendly, so I like to give them a little something at Christmas and Easter. They are  a "sunny boy" shape for those if us in Australia or for overseas folk a sour cream container. 


I managed to fit three chocolates into each container. I stamped  some cute gingerbread men and gave them a water colour wash with a brown coloured ink. Once dry I used a white gel pen to put on the face and icing! The sentiment and gingerbread man stamp were a gift with a craft magazine, I can't remember which magazine and I no longer have the magazine.


The paper was Candy Cane Lane designer series paper from Stampin' Up. The tag was cut with the Scalloped Tag Topper punch from Stampin' Up and the ribbon was also from SU.


Here they all are all ready to be delivered.


Thanks for stopping by.

  I hope your Christmas and new Year are filled with good health and much happiness. 🎅

Cheers Donna 🎄

Sunday 18 December 2016

Silent Night

Hi there,
I am finally posting my Christmas cards that I sent out to family and friends this year. I did send these out a couple of weeks ago so it's safe to blog about them now. I have had this card design saved up from last year. I made this card at a stamp club I attended last year and actually made  heaps of these cards in January this year, just so I wouldn't forget! I did have to make a heap more but at least I had half made.
 My friend  who runs the stamp club  I love attending told us she had seen this idea on pinterest and sent  us the link on how we could recreate this card at home. So pop over to the lovely Lydia's blog to see how she made this beautiful card. She even has a video. Click HERE to visit Lydia's amazing blog.


I did decide not to pop out the windows and doors and coloured them yellow instead, to represent lights inside the houses. I saw this idea on another blog about colouring the windows yellow but cannot find that link anywhere. It was not with this die it was with a stamp of little houses that had been coloured with copics, I just thought that made sense to me.


I hope you do like my card. I was desperately hoping to get my hands on some sort of glitter spray to spray the sponged night sky but it was sold out everywhere and I am on a waiting list for when it arrives....suffice to say I'm still waiting! I did try using my Wink of Stella and brushing it over the sky but that did not end well so I just left them glitterless 😞

That's it for today. Have a lovely day. 
Cheers Donna 😄

Wednesday 14 December 2016

#WPlus9 Thank You

Hi there, 
I was recently in need of a thank you card for a friend and her lovely daughter recently. They took myself and my daughter out for lunch, it was such a thoughtful gesture and we all had a fabulous day.

So onto the card......


 It's fairly self explanatory in it's construction.
I stamped the Baby Bear stamp set from Stampin 'Up. A lovely three step stamp set that uses three different coloured inks. I stamped it onto a smaller piece of card cut out with the rectangular nesting stitched dies. I die cut the word thanks from a WPlus 9 die, Hand Lettered Thanks and the sentiment was white heat embossed from the WPlus 9  stamp set that matches the Hand Lettered Thanks  die.


Here's a side view to show that the stamped panel was popped up on craft foam for dimension.


And a close up of the sentiment.

That's it folks!

Have a lovely day. 

Cheers Donna :)

Saturday 26 November 2016

#Kaisercraft Feather

Hi there,
I hope you are all well. It's been very busy here, lots of crafting and no blogging....so I'm here to remedy that situation.
I have been cruising around many blogs lately and noticed that water colouring seems to be the rage at the moment. So I thought why not have a whirl at that, I had some water colour pencils I could use ( they actually belong to my gorgeous daughter) so why not. Yes, well many attempts later and the bin was full! So I thought I'd take a slowly slowly approach to water colouring and start simple, like real simple....a water colour wash over a heat embossed image. I had just the image so how hard could it be? It was so easy. I used the gorgeous Kaisercraft Feather stamp set that  comes with a matching die.....bonus 😉.

 So here are my cards.


I made five cards in total. Two with a pink water colour wash, two with a purple water colour wash and one  with a blue water colour wash
.
 Firstly, I heat embossed the feather image onto a piece of water colour paper with silver embossing powder. Next I scribbled over each image with a water a colour pencil in a zig- zag fashion. Then I brushed over the pencil with a water colour brush to spread the colour and to get rid of the pencil lines. Once that was dry I flicked some ink over the the water coloured image in a darker hue of the water colour wash with ink and my water colour brush. I then added some silver sequins and matted this onto some brushed silver card stock that was then mounted on craft foam and then finally attached to a coloured piece of card stock in a coordinating colour.

Here are some close ups. The pink and purple cards are without sentiments. I will put them on when I know what the occasion will be. For now they will just be in my stash.


This is the purple one and I must say in the photos it looks blue. Trust me it's purple.


The blue card below, has a  happy birthday sentiment  from an Altenew  stamp set called Label Love. I stamped it in versa fine black ink and heat embossed it with clear embossing powder, cut it out and popped it up with dimension tape. This card is for my darling daughter's birthday coming up in two weeks. Her favourite colour is blue.


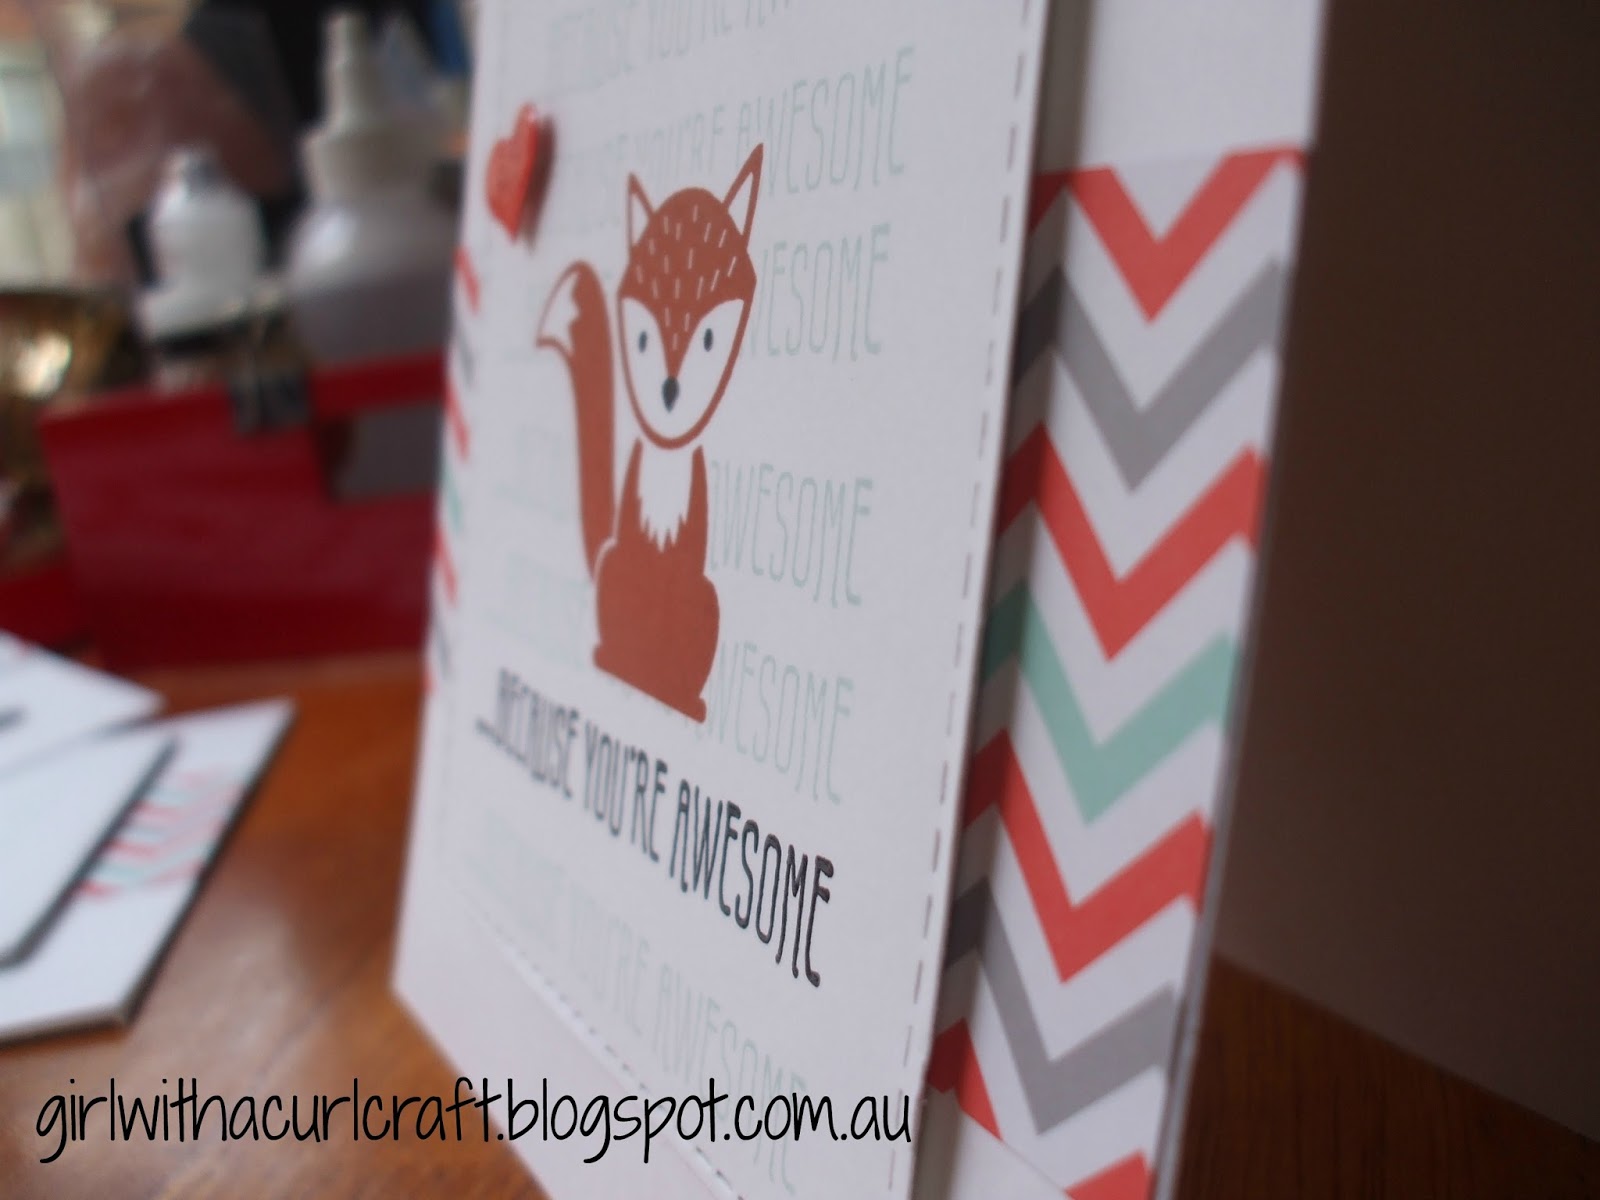
A side view so you can see the shiny silver embossing and the dimension of the panels popped up on craft foam and dimension tape..


One last look at the cards all together.


So what colour is your favourite? Do leave a comment and let me know.

Have a lovely day.

Cheers Donna 😍

Friday 11 November 2016

#Kaisercraft Frosted Part Two

Hi there,
I'm linking this post to the Challenge over at Scrapbook Boutique. They have a mood board to help inspire you.  I was inspired by the the Christmas theme. Click HERE to go to the challenge.


I'm back to show you the other cards I created using the  Paper pad Frosted by Kaisercraft. In my last post I told you how I had gone to my local craft store for a card making class where we were given the Paper pad Frosted & shown how to make several cards. We got to take home the rest of the paper pad once the class was finished. Not wanting to waste the rest of the pad this is what I have made so far.


This card was almost identical to one we had made in the class. Everything came from the paper pad except the snow flake. I die cut this out of glittery paper I had in my stash, from a Sizzix die called Snow Flurry I got from Stampin' Up many years ago.


The next 3 cards are the same design but with small differences. They all have a piece of the glitter washi tape running down the left hand side of the cardand a piece of patterned paper. A  wastree fussy cut out of paper from the paper pad. It was mounted onto another piece from the pad that had been die cut, using the Rectangular nesting stitched dies also from Kaisercraft. Either a snowflake once again die cut  out of glittery paper  from the Sizzix die called Snow Flurry  from Stampin' Up, or a wooden element.


The card below is the card I entered into the challenge.


The next 3 cards were made using strips of paper from the pad and the washi tape for the background. Again I used the  rectangular stitched dies to die cut a rectangle onto which I mounted either a tag, image or sentiment circle also from the pad.  Also some snowflake die cut action or wooden element was added to the cards,


This pad has everything you need to make fabulous cards, what do you think?
Here's the pad again. 


  Don't forget to pop over to the Scrapbook Boutique to check out their challenge. 

Thanks for stopping by. Do leave a comment and let me know which card is your favourite.

Have a lovely day. 
Cheers Donna :)

Thursday 10 November 2016

#Kaisercraft Frosted

Hi there,
I have been busy crafting but not blogging. Last week I went to a card class at my local craft store. We were all given 6 & a 1/2"  Paper Pad, Frosted by Kaisercraft. We also received some wooden elements, a snowflake die cut out of glitter paper, some silver glitter washi tape & some silver twine. We were then shown how to make several cards which we did. Here are the cards we made.


For this card we added lots of layers using the paper from the pad. We cut a length of the silver glitter washi tape, folded it back on itself and flagged the ends, it  looks like silver ribbon - I thought this was a very clever idea. The image and greeting also came from the pad. The wooden snowflake is just peeking out from the greeting.


For this card we were given the stamped frame that we had to fussy cut. I don't know which stamp set  this came from or who makes it, sorry I forgot to ask! The white paper with the splats was ordinary white card stock that we dipped and dragged through some blue distress ink that had water added to it. Then we added some splats/flicks of a silver metallic ink. We fussy cut the tree out of a piece of paper from the pad. The image, sentiment circle and music paper  also came from the paper pad.  


Now this card was billed as the masculine card. We pasted the music paper onto a white card base then topped it with a patterned paper that had been embossed so as to add texture and interest. Teresa the lovely lady who ran the class told us that patterned papers that we didn't really like could be put in embossing folders to add some visual interest. Interesting idea, I hadn't thought of that, I usually just don't use them!!!


This was the paper pad we used. It's actually a great pad full of patterned papers, images, tags, borders, sentiments & greetings. There is a whole collection that goes with this set of papers. It also comes in 12x12" papers. I believe there is even a coordinating stamp set as well. Pop over to Kaisercraft to check it out. I am not affiliated or linked  with Kaisercraft. I just happen to like this particular paper. We got to take the rest of the pad home after the class was finished.

Pop back for the next post to see what I made with the rest of this paper pad once I got home, I even surprised my self with what I came up with.

Have a great day.
Cheers Donna :)

Wednesday 26 October 2016

#Lawnfawn Hedgehugs......Part 2

Hi there,
back again with another card using the adorable Hedgehugs stamp set from Lawn Fawn. They have the cutest critter stamps that are so whimsical.

Ok here's the card.I made another card with this stamp that had a whole sponged background. You can see that card HERE.  This time I wanted a quick, clean and simple card that would be easy to mass produce, particularly if you use a Misti.

I stamped the images and sentiment in versa fine black ink, put on some clear embossing powder and heat set it. I then  used coloured textas to colour the images, and once coloured put on a coat of Wink of Stella. I stamped the little hearts in red ink.

Here's a close so you can see the shiny Wink of Stella.....yes my Wink of Stella which is usually most bashful when it comes to being photographed played nicely when photographed today!


That's it for today. Pretty simple and quick. I think I may be a colouring convert! Thanks for stopping by.

Hoping your day is magnificent.

Cheers Donna :)

Tuesday 25 October 2016

#LawnFawn Hedgehugs


Hi there,
I recently went to a craft fair near my house. I had been eagerly anticipating this event for several weeks.  To say that I was more than giddy with excitement on the day would be an understatement. 
 It was awesome!
 Whilst there I found this cute little stamp set from Lawn Fawn. My daughter said we had to get it so we could make a card for my mum and step-dad. They had sent us photos of an echidna that had visited their garden the day before...the stamp set reminded us of the echidna. There is a little bit of a similarity between hedgehogs and echidnas in appearance, so we bought the stamp set and matching dies.


OK here's the card using the gorgeous stamp set Hedgehugs from Lawn Fawn. I love the sentiment. I stamped the hedgehogs and sentiment in black versa fine and then dusted with clear embossing powder and heat set them. I also bought the dies that matched the stamp set so I die cut the images out.


I used a stitched circular nesting die from Kaisercraft and die cut the circle. I  sponged  green and blue to represent the sky and grass on to the circle and masked a circle for the sun. I coloured the hedgehogs with  coloured textas, no fancy copics because I'm rubbish at colouring and shading. I don't normally do hand colouring. I did brush my Wink of Stella over the top of the image once I had completed the colouring, bit hard to see in the photo :( 

Here's a couple of close ups of extra details.


 Cute right? Well I thought so. I have made another card using this stamp set, I'll save that for another post.

Here is the visitor on their verandah! Cute Right?


Have a great day.

Cheers Donna :)

Sunday 23 October 2016

#Altenew Beautiful Day........again

Hi there,
yes some more "fan-girling" over Altenew's Beautiful Day stamp set!

These two cards are almost the same as the cards from yesterday's post HERE. the only difference is the shape of the card and the stitched die the flower is sitting on. Have a look.....


Details are as follows:
 Altenew ink Soft Lilac, Lavender Fields, Deep Iris and Midnight Violet for purple flower and for the pink flower were the new pinks, Rose Quartz, Puffy Heart, Purple Wine and Cosmic Berry. 
Rectangular stitched nesting die Kaisercraft. 
Gold embossed sentiment from the Beautiful Day stamp set.
Wink of Stella brushed onto flowers.
Gold sequins.
Ranger Glossy accents put over the stamen that was coloured with a black sharpie pen.

As you can see these are rectangular cards and yesterdays were square with a stitched circle. So which cards do you prefer, the square or rectangular? Do leave a comment and let me know.

Have a lovely day. 

Cheers Donna :)

Saturday 22 October 2016

#Altenew Beautiful Day


 Hi there,
my crafting is quite sporadic at the moment. My creative spark is on a mini vacation, so rather than craft I'll show you what I have been doing the last couple of weeks

So, if you have visited here lately you'll know that I'm totally "fan-girling" over my new Altenew stamp set, Beautiful Day. So without further ado, here are the latest couple of cards featuring the stamp set.


 A purple version and pink version. I used my new Altenew inks that I purchased in a group of four mini ink pads. Colours used were Soft Lilac, Lavender Fields, Deep Iris and Midnight Violet for purple flower and for the pink flower were the new pinks, Rose Quartz, Puffy Heart, Purple Wine and Cosmic Berry. I do have to say that I love these colour inks, much better than the colours I stamped this flower in on previous cards seen HERE. I just think the Altenew purples and pinks are much softer than the ink colours I used previously. That's just my personal opinion.


 Some close up photos... of the beautiful gold embossed sentiment included in the Beautiful Day stamp set. The stitched circle was popped up on craft foam to give extra dimension. The flower was also fussy cut and popped up on foam tape. The leaves were stamped directly onto the card stock.


  I went over the stamen part of the flower with a black sharpie and then put glossy accents over the top of that. Some lovely gold sequins  randomly artistically placed  on to the card, wink, wink!


One past photo of both cards together.


So what colour flower do you prefer? Do leave a comment and let me know.

Have a great day and I hope you got some crafting in!

Cheers Donna :)

Sunday 9 October 2016

You Are Awesome.....

Hi there,
here's a little something again inspired by the amazing Jennifer McGuire over at Jennifer McGuire Ink. Jennifer calls this particular technique sentiment backdrop
you are probably wondering what I'm talking about, so let's look at my cards to see lol. 


The sentiment has been stamped in the background. I stamped the fox first, then masked the fox so I could stamp the sentiment over the top down the centre of the CS. If you pop over to Jennifer McGuire's blog she explains this in depth. There is even an amazing video showing you exactly how to do it. It 's so easy to follow, that's what I did to create these cards, nine in total! Click HERE to go to her blog post and video to see for yourself.

I did heat emboss the sentiment that was stamped with black Versa Fine. This particular ink stays wet longer, allowing you time to sprinkle it with clear embossing powder and then heat emboss it.
The little heart was brushed with Wink of Stella and then had Ranger's Glossy Accents put on top to give it some shine. You can't see this in the photos but it does look amazing in real life, wink, wink!

Here are a couple of close up photos to show some detail.


An aerial shot of all the cards! My attempt at arty photography lol 


One last photo for you. So what do you think? I really like this technique. It was made easy with my Misti stamping tool . Not necessary to achieve this technique but it certainly does make the job easy with one.


I'd love to hear if you try this technique. Don't forget to pop over to Jennifer's blog to see just how easy it is. Jennifer explains and shows you how to do this. Go on give it a try, you'll love it.

Have a fabulous day.
Cheers Donna :)